
No Churn Biscoff Espresso Ice Cream Recipe
Introduction
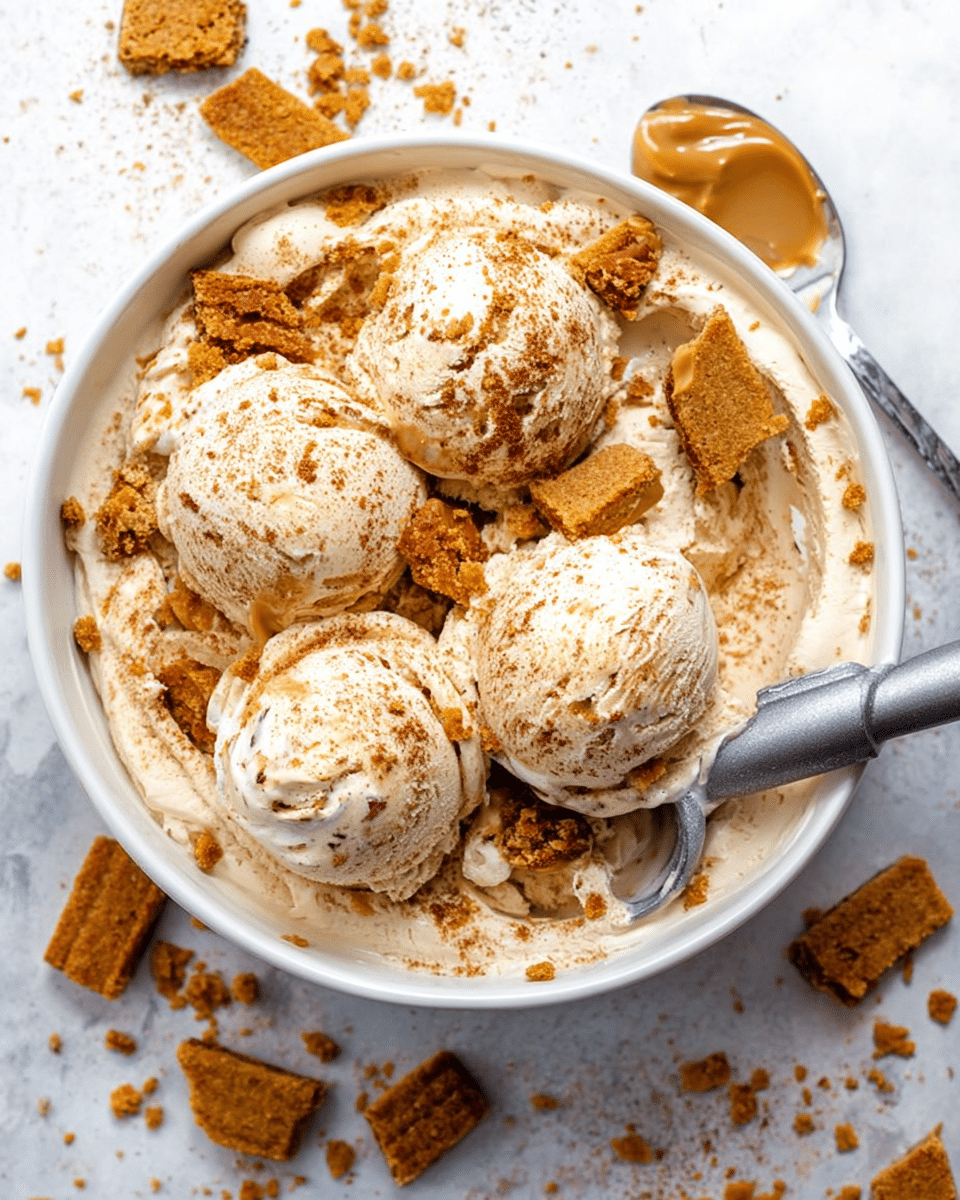
This No Churn Biscoff Espresso Ice Cream combines the rich flavors of coffee and Biscoff cookies into a creamy, decadent treat. Perfect for those who love a coffee kick without the fuss of an ice cream maker.
Ingredients
- 2 1/2 cups heavy whipping cream
- 14 ounce canned sweetened condensed milk
- 1 teaspoon vanilla bean paste, or vanilla extract
- 1 teaspoon espresso powder
- 1/4 teaspoon kosher salt
- 2 tablespoons coffee liqueur (such as Kahlúa)
- 1/2 cup crushed Biscoff cookies, plus more for garnish
- 1/3 cup Biscoff cookie butter
Instructions
- Step 1: In the bowl of a stand mixer fitted with the whisk attachment, add the heavy cream. Whisk on medium speed until stiff peaks form, about 7–10 minutes. The cream should stand straight up when you lift the beater.
- Step 2: In a large bowl, combine the sweetened condensed milk, vanilla bean paste, espresso powder, kosher salt, and coffee liqueur. Stir to blend and set aside.
- Step 3: Gently fold about half of the whipped cream into the condensed milk mixture until smooth. Then fold in the remaining whipped cream along with the crushed Biscoff cookies until fully combined.
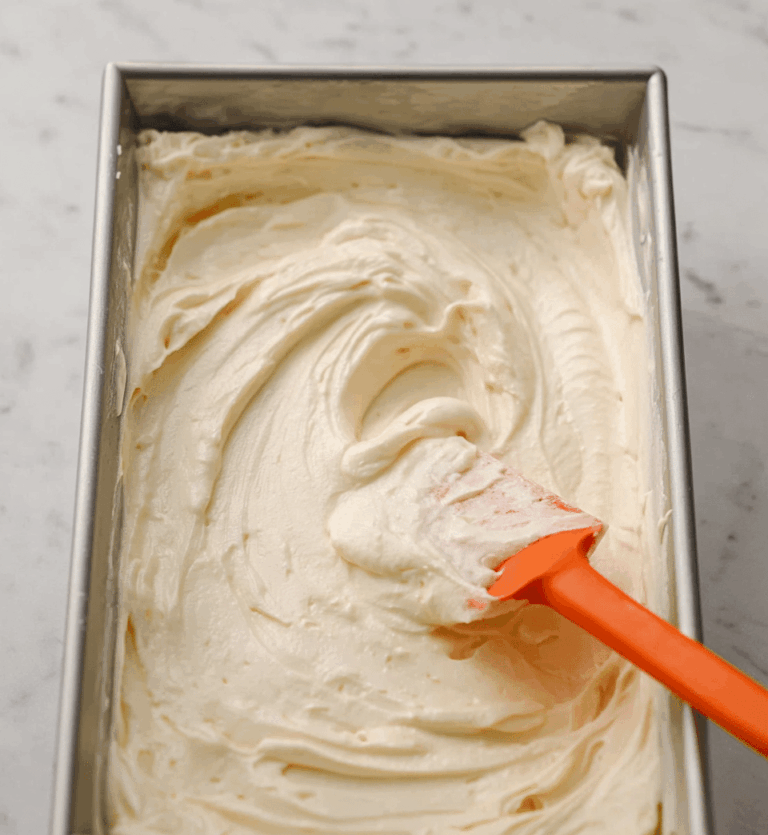
- Step 4: Pour half of the ice cream mixture into a 10-inch cake pan or a 9×5-inch loaf pan. Dollop the Biscoff cookie butter over the surface in small spoonfuls. Add the remaining ice cream mixture on top and garnish with extra crushed cookies if desired.
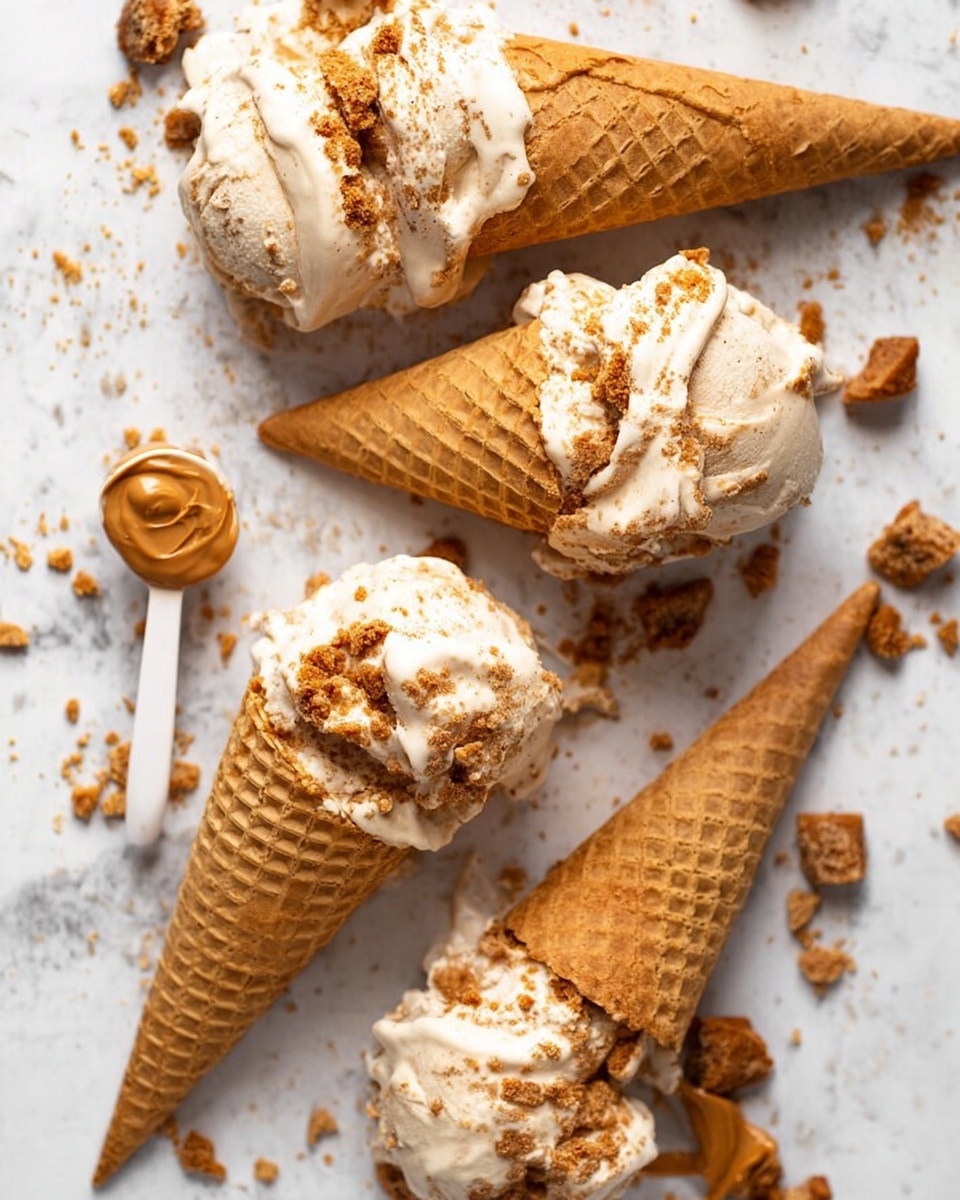
- Step 5: Cover the pan with plastic wrap and freeze overnight, or for at least 8 hours. When ready, scoop and serve in bowls or cones. Enjoy!
Tips & Variations
- For a stronger coffee flavor, increase espresso powder to 1 1/2 teaspoons or add an extra tablespoon of coffee liqueur.
- Use vanilla extract if you don’t have vanilla bean paste, though the paste adds a richer taste.
- Substitute the coffee liqueur with brewed espresso for a non-alcoholic version.
- Try swirling in melted Biscoff cookie butter before freezing for a marbled effect.
Storage
Store the ice cream in an airtight container in the freezer for up to 2 weeks. Allow it to sit at room temperature for 5–10 minutes before scooping to soften slightly for easier serving.
How to Serve
Serve this delicious recipe with your favorite sides.
FAQs
Can I make this ice cream without espresso powder?
Yes, you can omit the espresso powder for a milder coffee flavor or substitute it with instant coffee granules. Adjust the amount to your taste preference.
Do I need an ice cream maker for this recipe?
No, this recipe is designed to be no churn, so you only need to whip the cream and fold with other ingredients, then freeze. It’s easier and requires no special equipment.
Print
No Churn Biscoff Espresso Ice Cream Recipe
- Total Time: 8 hours 15 minutes
- Yield: 8 servings 1x
Description
This No Churn Biscoff Espresso Ice Cream is a creamy, indulgent frozen treat combining the rich flavors of espresso and caramelized Biscoff cookies. Made without an ice cream maker, it’s easy to prepare by whipping heavy cream and folding it into a sweetened condensed milk mixture with espresso powder and coffee liqueur. Crushed Biscoff cookies and cookie butter are layered throughout, adding a delightful crunch and luscious swirl. Perfect for coffee and cookie lovers looking for a simple homemade ice cream recipe.
Ingredients
Ice Cream Base
- 2 1/2 cups heavy whipping cream
- 14 ounce canned sweetened condensed milk
- 1 teaspoon vanilla bean paste or vanilla extract
- 1 teaspoon espresso powder
- 1/4 teaspoon kosher salt
- 2 tablespoons coffee liqueur (such as Kahlúa)
Add-ins
- 1/2 cup crushed Biscoff cookies, plus more for garnish
- 1/3 cup Biscoff cookie butter
Instructions
- Whip the Cream: In the bowl of a stand mixer fitted with the whisk attachment or using an electric hand mixer, add the heavy cream. Whisk on medium speed until stiff peaks form, about 7-10 minutes. The cream is ready when it holds a straight peak when the whisk is lifted.
- Mix Flavor Base: In a large bowl, combine the sweetened condensed milk, vanilla bean paste, espresso powder, kosher salt, and coffee liqueur. Stir until all ingredients are fully integrated and smooth.
- Fold in Whipped Cream and Cookies: Gently fold half of the whipped cream into the condensed milk mixture to lighten it, stirring carefully until smooth. Then fold in the remaining whipped cream along with the crushed Biscoff cookies, combining everything gently to maintain the airy texture.
- Layer with Cookie Butter: Pour half of the ice cream mixture into a 10-inch cake pan or 9×5 inch loaf pan. Dollop the Biscoff cookie butter evenly across the surface. Top with the remaining ice cream mixture and optionally sprinkle additional crushed cookies on top for garnish.
- Freeze to Set: Cover the pan tightly with plastic wrap and place it in the freezer. Allow the ice cream to set overnight or for at least 8 hours. Once frozen, scoop into bowls or cones to serve and enjoy the creamy espresso and Biscoff flavors.
Notes
- This recipe requires no ice cream maker and relies on whipping cream for creaminess.
- Use espresso powder for a strong coffee flavor; adjust amount to taste.
- Adding coffee liqueur enhances flavor but can be omitted for a non-alcoholic version.
- Allow sufficient freezing time to achieve firm texture.
- For best results, use a pan size as recommended to ensure even freezing.
- Store leftovers covered in the freezer and consume within 1 week for optimal flavor.
- Prep Time: 15 minutes
- Cook Time: 0 minutes
- Category: Dessert
- Method: No-Cook
- Cuisine: American
Keywords: No churn ice cream, Biscoff ice cream, espresso ice cream, homemade ice cream, no ice cream maker, coffee dessert, Biscoff cookie
