
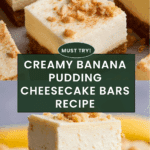
Banana Pudding Cheesecake Bars Recipe
Introduction
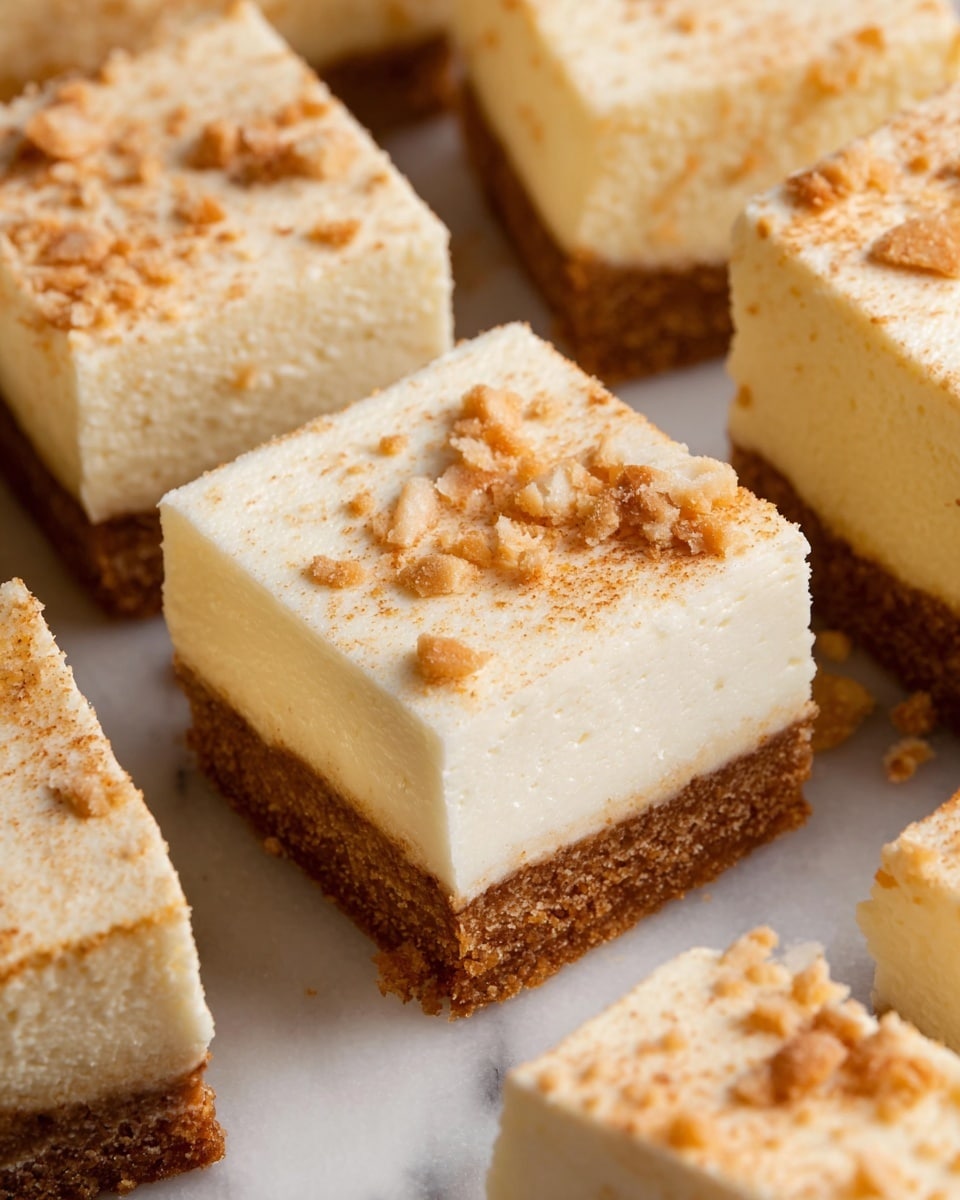
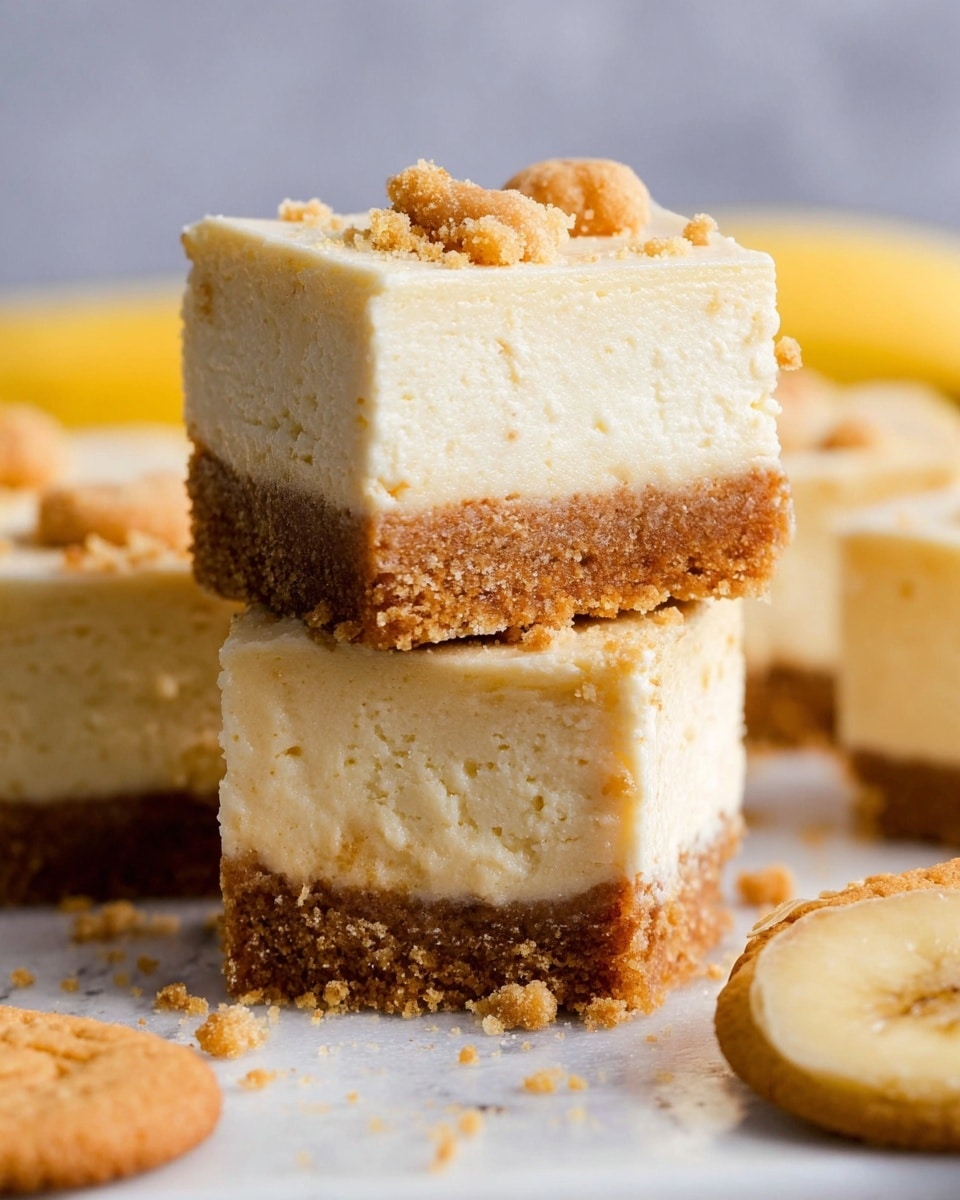
These Banana Pudding Cheesecake Bars combine a rich, creamy cheesecake layer with a moist banana-flavored crust, topped with crunchy Nilla Wafers. Perfect for dessert lovers who enjoy a twist on classic banana pudding, these bars are easy to make and wonderfully satisfying.
Ingredients
- ½ cup butter (softened)
- ½ cup brown sugar (lightly packed)
- 1 egg yolk
- ¼ cup mashed banana
- 1 teaspoon vanilla extract
- ½ cup flour
- ¼ teaspoon salt
- 2/3 cup heavy whipping cream
- 2 (8 oz) packages cream cheese (softened)
- 1 cup granulated sugar
- 1 (3.4 oz) package banana pudding mix
- ½ cup milk
- 1 teaspoon vanilla extract
- Crushed Nilla Wafers (for topping)
Instructions
- Step 1: Preheat your oven to 350°F and prepare an 8×8 or 9×9 baking dish by spraying it with non-stick spray and lining it with parchment paper for easy removal of the bars.
- Step 2: In the bowl of a stand mixer fitted with a paddle attachment, cream together the softened butter and brown sugar until the mixture is light in color and fluffy.
- Step 3: Add the egg yolk, mashed banana, and vanilla extract to the butter mixture and mix until combined.
- Step 4: Stir in the flour and salt, mixing until there are no dry spots remaining.
- Step 5: Press the blondie batter evenly into the bottom of the prepared pan to form the crust. Bake for 15-20 minutes or until set and golden brown. Remove from oven and allow to cool.
- Step 6: Using a stand mixer with a whisk attachment, whisk the heavy whipping cream on high speed for 2-3 minutes until stiff peaks form.
- Step 7: In a separate mixing bowl, beat the softened cream cheese for 2-3 minutes until smooth and lump-free.
- Step 8: Gradually add the granulated sugar, banana pudding mix, milk, and vanilla extract to the cream cheese, mixing until well combined.
- Step 9: Gently fold the whipped cream into the cream cheese mixture, taking care not to overmix and deflate the whipped cream.
- Step 10: Spread the cheesecake mixture evenly over the cooled crust and smooth the top. Sprinkle with crushed Nilla Wafers. Freeze for at least 2 hours or up to overnight.
- Step 11: Remove from the freezer, lift the bars from the pan using the parchment paper, and place on a cutting board. Cut into 12 equal pieces and serve.
- Step 12: Store any leftovers in an airtight container in the freezer for up to one week.
Tips & Variations
- For best texture, be sure the cream cheese and butter are softened before mixing to avoid lumps.
- You can substitute crushed vanilla cookies if you don’t have Nilla Wafers on hand for topping.
- If fresh bananas are not available, use mashed frozen bananas thawed and drained well for consistent moisture.
- To add a caramel twist, drizzle caramel sauce over the top before serving.
Storage
Keep the bars stored in an airtight container in the freezer for up to one week. For best results, thaw in the refrigerator for about 30 minutes before serving to let them soften slightly. Avoid storing at room temperature as the creamy filling can melt quickly.
How to Serve
Serve this delicious recipe with your favorite sides.
FAQs
Can I make these bars ahead of time?
Yes, these bars can be made a day or two ahead and kept frozen until you’re ready to serve. Just thaw in the fridge before cutting for easier slicing.
Can I use a different pudding mix flavor?
While banana pudding mix is recommended for authentic flavor, you can experiment with vanilla or butterscotch pudding mixes for a slight variation, but it may change the overall taste.
Print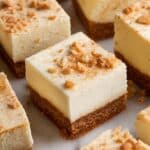
Banana Pudding Cheesecake Bars Recipe
- Total Time: 2 hours 35 minutes (including freezing time)
- Yield: 12 bars 1x
- Diet: Vegetarian
Description
These Banana Pudding Cheesecake Bars combine a rich, creamy banana-flavored cheesecake layer over a buttery blondie crust, topped with crunchy crushed Nilla Wafers. Perfectly chilled and easy to make, they offer the perfect blend of banana pudding and cheesecake in every bite.
Ingredients
Blondie Crust
- ½ cup butter, softened
- ½ cup brown sugar, lightly packed
- 1 egg yolk
- ¼ cup mashed banana
- 1 teaspoon vanilla extract
- ½ cup flour
- ¼ teaspoon salt
Cheesecake Layer
- 2 (8 oz) packages cream cheese, softened
- 1 cup granulated sugar
- 1 (3.4 oz) package banana pudding mix
- ½ cup milk
- 1 teaspoon vanilla extract
- 2/3 cup heavy whipping cream
Topping
- Crushed Nilla Wafers
Instructions
- Prepare the Pan: Preheat your oven to 350°F. Spray an 8×8 or 9×9 baking dish with non-stick spray and line it with parchment paper for easy removal of the bars.
- Make the Blondie Crust: In a stand mixer fitted with a paddle attachment, cream together the softened butter and brown sugar until light and fluffy. Add in the egg yolk, mashed banana, and vanilla extract, mixing until combined. Then, add the flour and salt and mix until no dry spots remain.
- Bake the Crust: Press the blondie batter evenly into the bottom of the prepared pan. Bake for 15-20 minutes, or until set and golden brown. Remove from oven and allow to cool completely.
- Whip the Cream: Using a stand mixer with a whisk attachment, whip the heavy cream on high speed for 2-3 minutes until stiff peaks form. Set aside.
- Prepare the Cheesecake Mixture: In a separate bowl, cream the softened cream cheese for 2-3 minutes until smooth and lump-free. Slowly add granulated sugar, banana pudding mix, milk, and vanilla extract, mixing until combined thoroughly.
- Fold in Whipped Cream: Gently fold the whipped cream into the cream cheese mixture to keep the texture light and fluffy, being careful not to overmix.
- Assemble the Bars: Spread the cheesecake mixture evenly over the cooled blondie crust. Smooth the top with a spatula.
- Add Topping and Chill: Sprinkle crushed Nilla Wafers over the cheesecake layer. Freeze the bars for at least 2 hours or overnight to set completely.
- Serve: Remove the bars from the freezer by lifting the parchment paper. Place on a cutting board and cut into 12 equal pieces. Serve chilled.
- Storage: Store any leftover bars in an airtight container in the freezer for up to one week to maintain freshness.
Notes
- Ensure the cream cheese is fully softened to avoid lumps in the cheesecake layer.
- Use ripe bananas for maximum flavor when mashing for the crust.
- Freezing the bars overnight yields the best texture and ease of slicing.
- For easier slicing, warm the knife slightly before cutting the bars.
- You can substitute Nilla Wafers topping with crushed graham crackers if preferred.
- Prep Time: 15 minutes
- Cook Time: 20 minutes
- Category: Dessert
- Method: Baking
- Cuisine: American
Keywords: banana pudding cheesecake bars, banana cheesecake bars, banana pudding dessert, cheesecake bars, no-bake cheesecake, banana blondie bars

